Search
Close this search box.

BASIC ONE-COLOUR STENCILING

HOW TO STENCIL WITH A ROLLER AND A STENCIL BRUSH

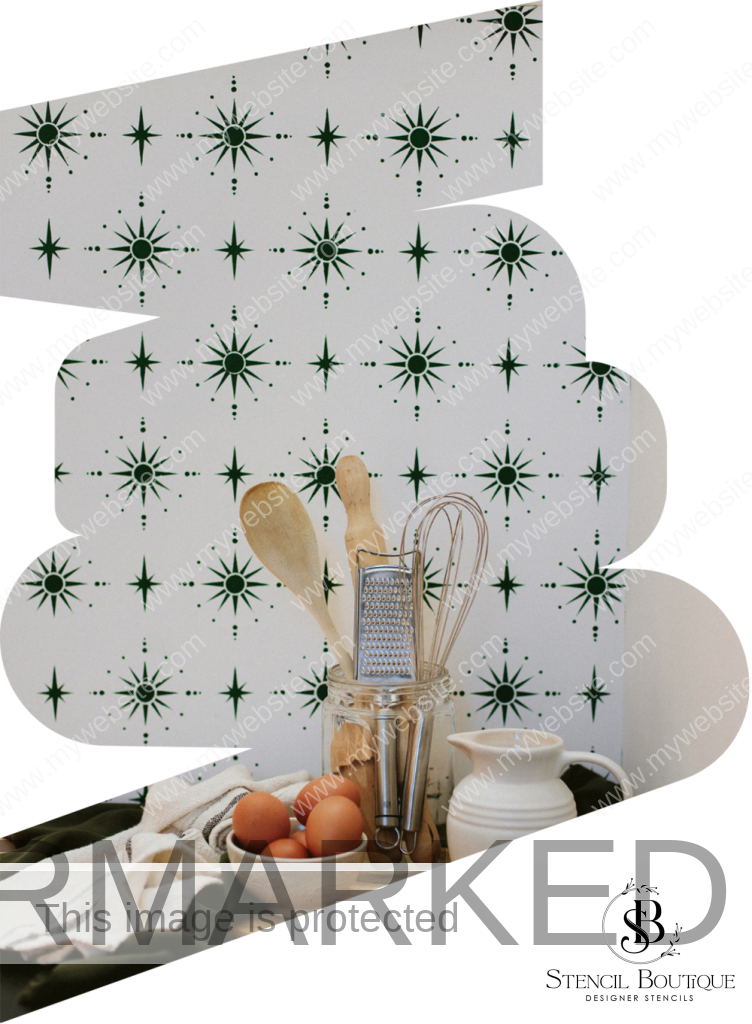
Stencils make creating home decor doable and affordable. Enjoy carefree crafting and allow the designs to inspire you as you scroll down the page.

1. WHAT YOU’LL NEED

  • Your stencil
  • Stencil Paint
  • Base coat paint (if needed for touch-ups)
  • Masking tape / Painters’ tape
  • Stencil Brush
  • Dense Foam Roller
  • Paint tray
  • Paper towel
  • Level
  • Sample Board (Optional)
  • Scissor (Optional)

2. PREPARING YOUR WALLS

Before you start stencilling, it is crucial that the walls are properly prepared. Here are some tips to help ensure the best possible outcome:

  • Make sure the walls are clean, dust-free, and in good condition. Repair any cracks or chips, fill them in, prime, and paint before stencilling.
  • Allow the base coat paint to dry for at least 24 hours before stencilling. A flat sheen base coat paint is recommended for the best results. While eggshell sheen can be used, the higher the sheen of the base coat, the greater the potential for paint bleeding/seepage.
  • Avoid stencilling textured walls, as paint bleeding/seepage can occur.

By following these tips, you can ensure that your stencil design will look its best and last for a long time.

Key features of the Stencil Boutique™ Stencils

  • At our company, we use 35-micron stencil mylar to create our stencils, while most other websites offer stencils made from 19-micron stencil mylar. When it comes to stencils, thin isn’t always the best option. Delicately intricate designs are at high risk of lifting or getting damaged when painting techniques are applied. That’s where our thicker, sturdier material comes to the rescue, delivering top-notch designs with zero damage, even with frequent use.
  • The sturdy material is resistant to damage, even when handling intricate designs.
  • The thickness of the material allows for easier painting with more movement, as the stencil details won’t shift or lift, reducing the risk of seepage or bleeding.

3. ENSURE CLEAN LINES

Achieving a clean and professional look when stencilling is crucial. Here are some techniques to keep in mind:

  • Use low tack masking tape to avoid damaging the base coat paint.
  • Cover surfaces that won’t be stencilled such as baseboards, mouldings, and ceilings.
  • To ensure a clean line with minimal paint seepage, burnish or rub down the edge of the tape.
  • Always remove the masking tape slowly and carefully, pulling it at an angle.

4. PAINTS

Base paint

For a smooth, even finish, we recommend base coating your walls with a water-based paint in a flat sheen using a tight nap roller. This type of paint is ideal for stencilling because it accepts the stencil paint more readily than shinier paints, resulting in a crisper print. Porous by nature, flat sheen paint allows the stencil paint to adhere without bleeding/seeping under the edges of the stencil. Plus, flat paints are easier to touch up because they blend better without causing flashing (an uneven sheen that appears when attempting to touch up higher-sheen paints like semi-gloss). If you make a mistake while stencilling, simply paint over the mistake with a flat sheen paint and re-stencil the area for perfect results.

Stencil Paint

When it comes to walls, we suggest using high-quality acrylic or water-based paint. Craft acrylics are also an excellent choice. However, we advise against using spray paint as it can be challenging to control. Additionally, oil-based paints are not stencil-friendly. You can use metallic paint, glaze, or plaster for stencilling purposes.

5. CHOOSING YOUR COLOURS

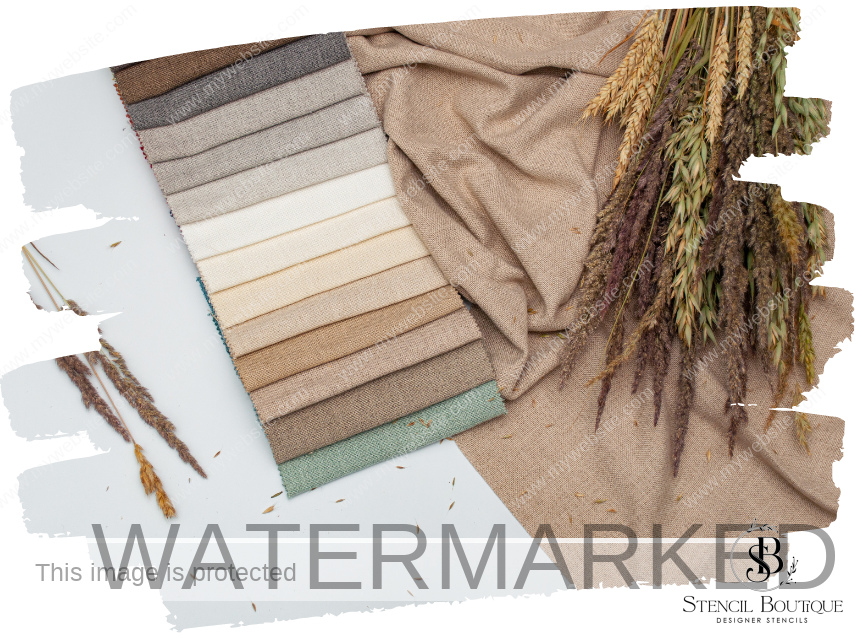
Choosing the right color combinations can be challenging, but it doesn’t have to be. Look for references that offer examples of color schemes that complement each other. Before making a final decision, do a test sample to see if you are comfortable with your choices. Keep in mind any pre-existing fabrics, floor or carpet colors, and use white index cards for color swatches – they’re a great resource!

6. SAMPLE TEST BOARDS

Consider the following benefits of testing your colour scheme and technique before stencilling your wall:

  • Determine which colours will work best for your project before painting your wall.
  • Practice your technique and figure out how much paint you’ll need to prevent bleeding.
  • Avoid the hassle of having to repaint your base coat and wait for it to dry if you’re unhappy with the result.
  • Test multiple colours on different sides of two or more sample boards to compare and determine the best look for your project.

Perfect your stencilling technique and achieve the ideal result. Our sample boards are available for purchase under “Stencil Supplies”.

7. POSITIONING YOUR STENCIL

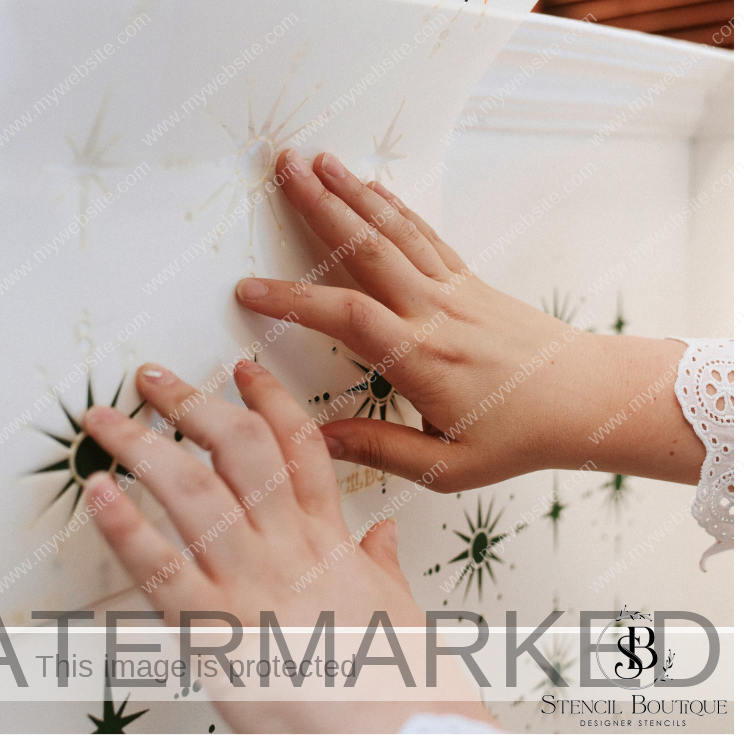
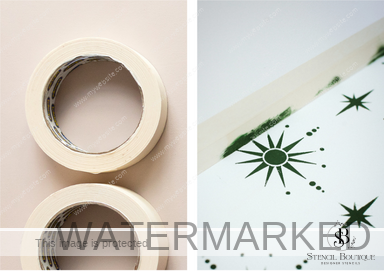
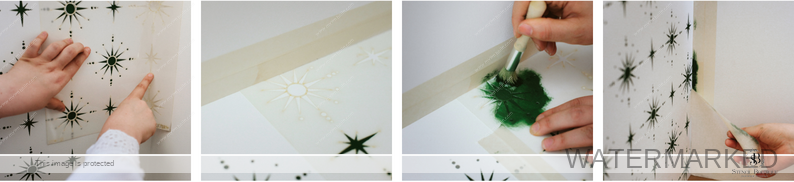
To begin, place your stencil on the wall in your desired location. Use several strips of low-tack masking tape to secure the stencil in place. If you require a level stencil, use a regular leveller to ensure it’s straight. While plain designs do not require levelling, wall or seamless pattern stencils benefit from it to properly align the elements. 

Stencilling CeilingsFollow the same process as before, but we recommend using a spray adhesive in addition to low tack masking tape to hold the stencil in position. When choosing an adhesive spray, be sure to select one that is non-staining and repositionable. This will ensure that the walls remain free of stickiness. You can easily find this product either at your local craft store, hardware store or online. Simply spray the back end of the stencil and you’re good to go!

8. STENCILLING WITH A DENSE FOAM ROLLER

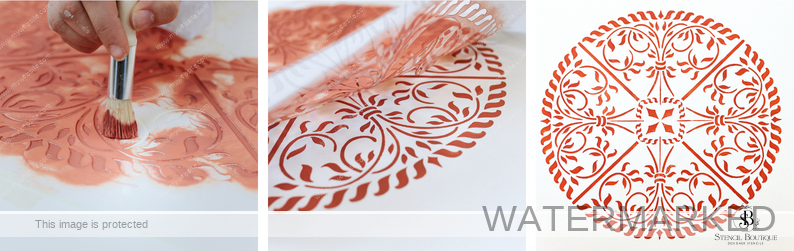
Achieve perfect stenciling results with this quick and easy technique, perfect for walls! Here’s how to do it:

  • Pour your stencil paint into a tray or plate.
  • Evenly load your Dense foam roller by rolling it back and forth through the paint a few times.
  • Avoid overloading the roller to prevent a blotchy finish.
  • Remove any excess paint by rolling the foam roller on folded paper towels.
  • Reload the roller if you notice stripy lines on the paper towel, then offload it again until the roller is somewhat dry.
  • Less paint is better to avoid paint bleed.
  • You can dry the stenciled area with a hairdryer to speed up the drying process.
  • When you spot the paint piling up on your stencil after a few rounds, whip out a damp cloth and give it a quick clean. This little trick will keep your paint looking sharp and stop any unwanted bleeding.
     
  • Refer to our cleaning tips below for more thorough cleaning if necessary.

9. ABOUT PAINT BLEED OR PAINT SEEPAGE

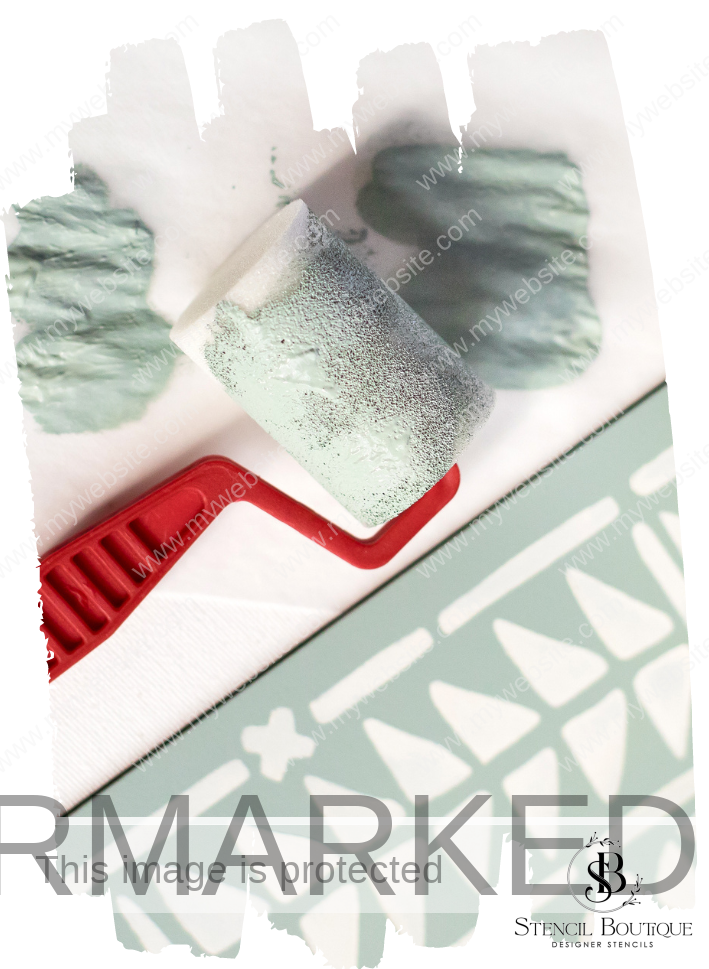
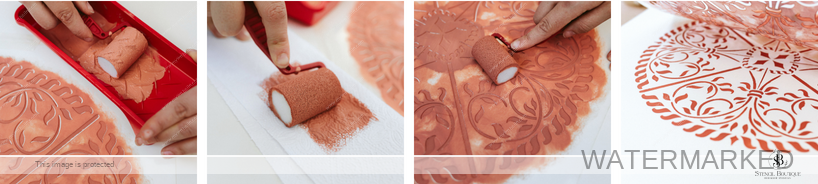
Stencil bleed is a common issue when using stencils; paint seeps under the edge, resulting in an imperfect print. While it’s impossible to avoid all bleeding, there are measures you can take to reduce it significantly. Keep in mind that once the wall is completed, the overall effect will be stunning, and minor bleeds won’t be noticeable. To minimize bleed, consider following these guidelines:

  • Use flat base coat paint on a smooth, texture-free wall.
  • Don’t overload your stencil roller or brush; slowly build up paint coverage without pressing too hard.
  • Test and practice your technique on a sample board before starting.
  • Avoid using too much paint; if your brush or roller looks overloaded, you’re using too much.
  • Consider using a brush instead of a roller to prevent bleeding.
  • Quickly wipe off minor mistakes and bleed with baby wipes or a moist rag.
  • Use a small brush to touch up any mistakes later on.

10. STENCILING WITH A BRUSH (DRY BRUSHING)

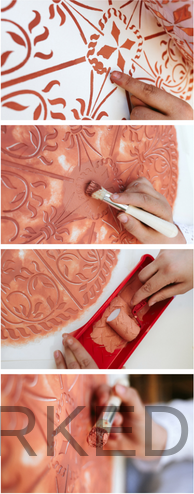
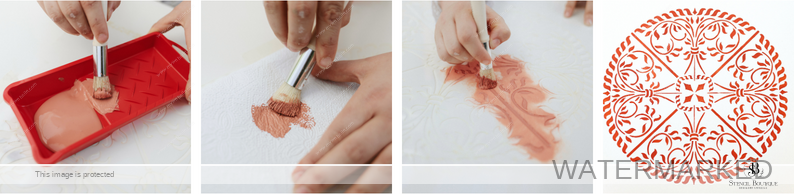
If you’re looking to achieve precise designs on furniture, craft projects, or even walls, using a stencil brush is the way to go! With the Dry-Brushing technique, your design will turn out so flawless that it’ll appear as if it were printed. Although using a stencil brush may take longer than other methods, the end result is a crisper design with no bleed. Here’s how you can use a stencil brush:

  • Choose the right size stencil brush based on the stencil openings. The smaller the openings, the smaller the brush. For edges and corners, a regular-size stencil brush (1-2cm) works well.
  • Pour your stencil paint onto a tray. Dip the stencil brush tip into the paint (only about 1/8”) and then swirl it on the tray to evenly distribute the paint into the bristle tips. Offload the excess paint onto some folded paper towels. You’ll use so little paint that it dries quickly and causes minimal bleed. Ideally, the brush should almost appear dry.
  • Use a light swirling motion for a softer look and for shading. Pouncing (straight up and down motion) works great for filling in areas.
  • If you’re stenciling with multiple colors, use a specific brush for each color to avoid color contamination.
  • If you notice accumulation of paint on the front and back of the stencil after a few repeats, clean it with a damp cloth to prevent paint bleeding. See our cleaning tips below if more cleaning is needed to continue your project.

Practice makes perfect! Keep honing your dry-brushing skills and watch as your stencil design springs to life before your very eyes.


11. STENCILLING AROUND MOULDINGS & EDGES

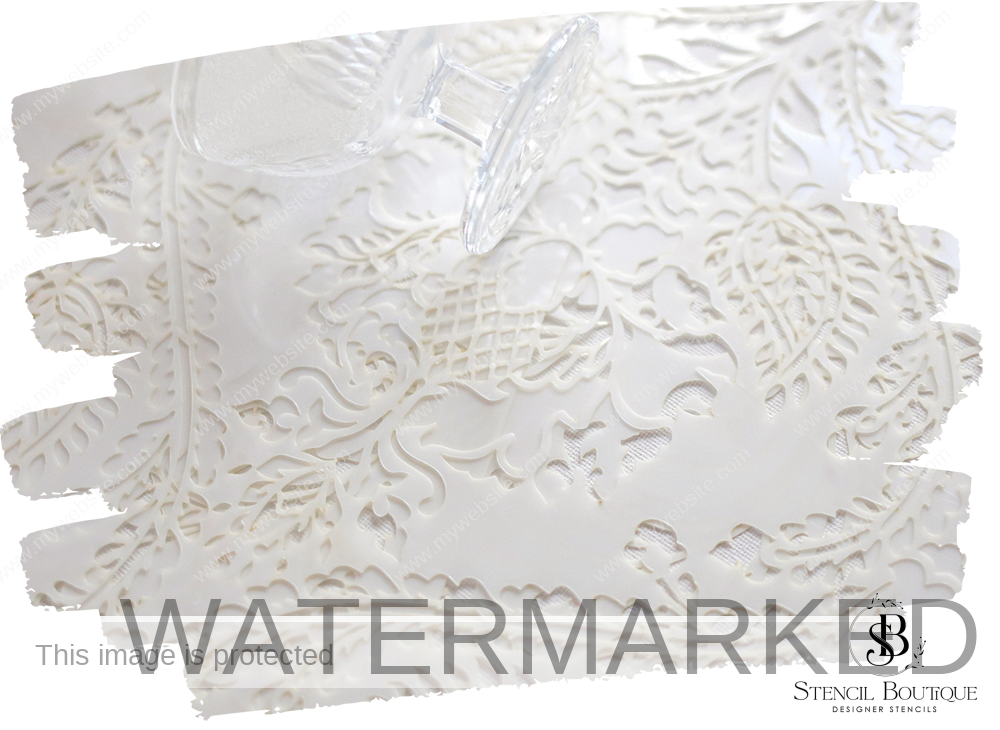
When working on a seamless wall, floor or tile stencil project, we recommend using more than one stencil. Not only will this accelerate the process, it also allows you to cut one stencil into smaller pieces that will fit perfectly into corners, mouldings or edges, without having to bend the stencil. This nifty technique often results in a superior finish, complete with sharp, clean edges. Here are some steps for using seamless stencils:

  • Before tackling the corners and edges, get the ball rolling by stenciling as much of your wall, floor or tiles as possible.
  • Determine where the extra stencil needs to be trimmed and mark it with a marker.
  • Trim the stencil using a pair of scissors.
  • Put the stencil on the painted detail and secure it with masking tape.
  • Paint the stencil detail in the corner or edges.
  • Peel off the masking tape.
  • Admire your impressive stencil work!

12. CLEANING & CARING FOR YOUR STENCILS

Here are some helpful tips to make your next painting project a success:

  • Clean your brushes, rollers, and stencils as soon as you finish your project to make the paint removal process easier.
  • Avoid soaking stencil brushes for extended periods. The natural bristles can expand and potentially damage the metal ferrule.
  • Use a drop of brush cleaner to clean your brushes effectively and efficiently. A brush scrubbing tool can also aid in removing paint particles from the bristles.
  • Don’t let your brushes or roller dry out during the project. If you take a break, place them in a plastic baggie or cover them with a damp cloth.
  • Stencils do not need to be cleaned after each use. It’s best to clean them when you notice a buildup of paint after several repeats.
  • To clean your stencil, lay it flat on a surface and gently scrub it with a dish brush under running water. If the paint is dry, let it soak for a while before scrubbing.
  • Store your stencil flat to prevent it from becoming crooked.

Are you ready to stencil?

Decorating your room with stencil work is both affordable and beautiful. Don't hesitate to enjoy every moment of the process without feeling intimidated.